DIY: Mailbox Notifier
Recently I finished one of my DIY electronics projects, which notifies me and my wife every time our physical mailbox is opened.

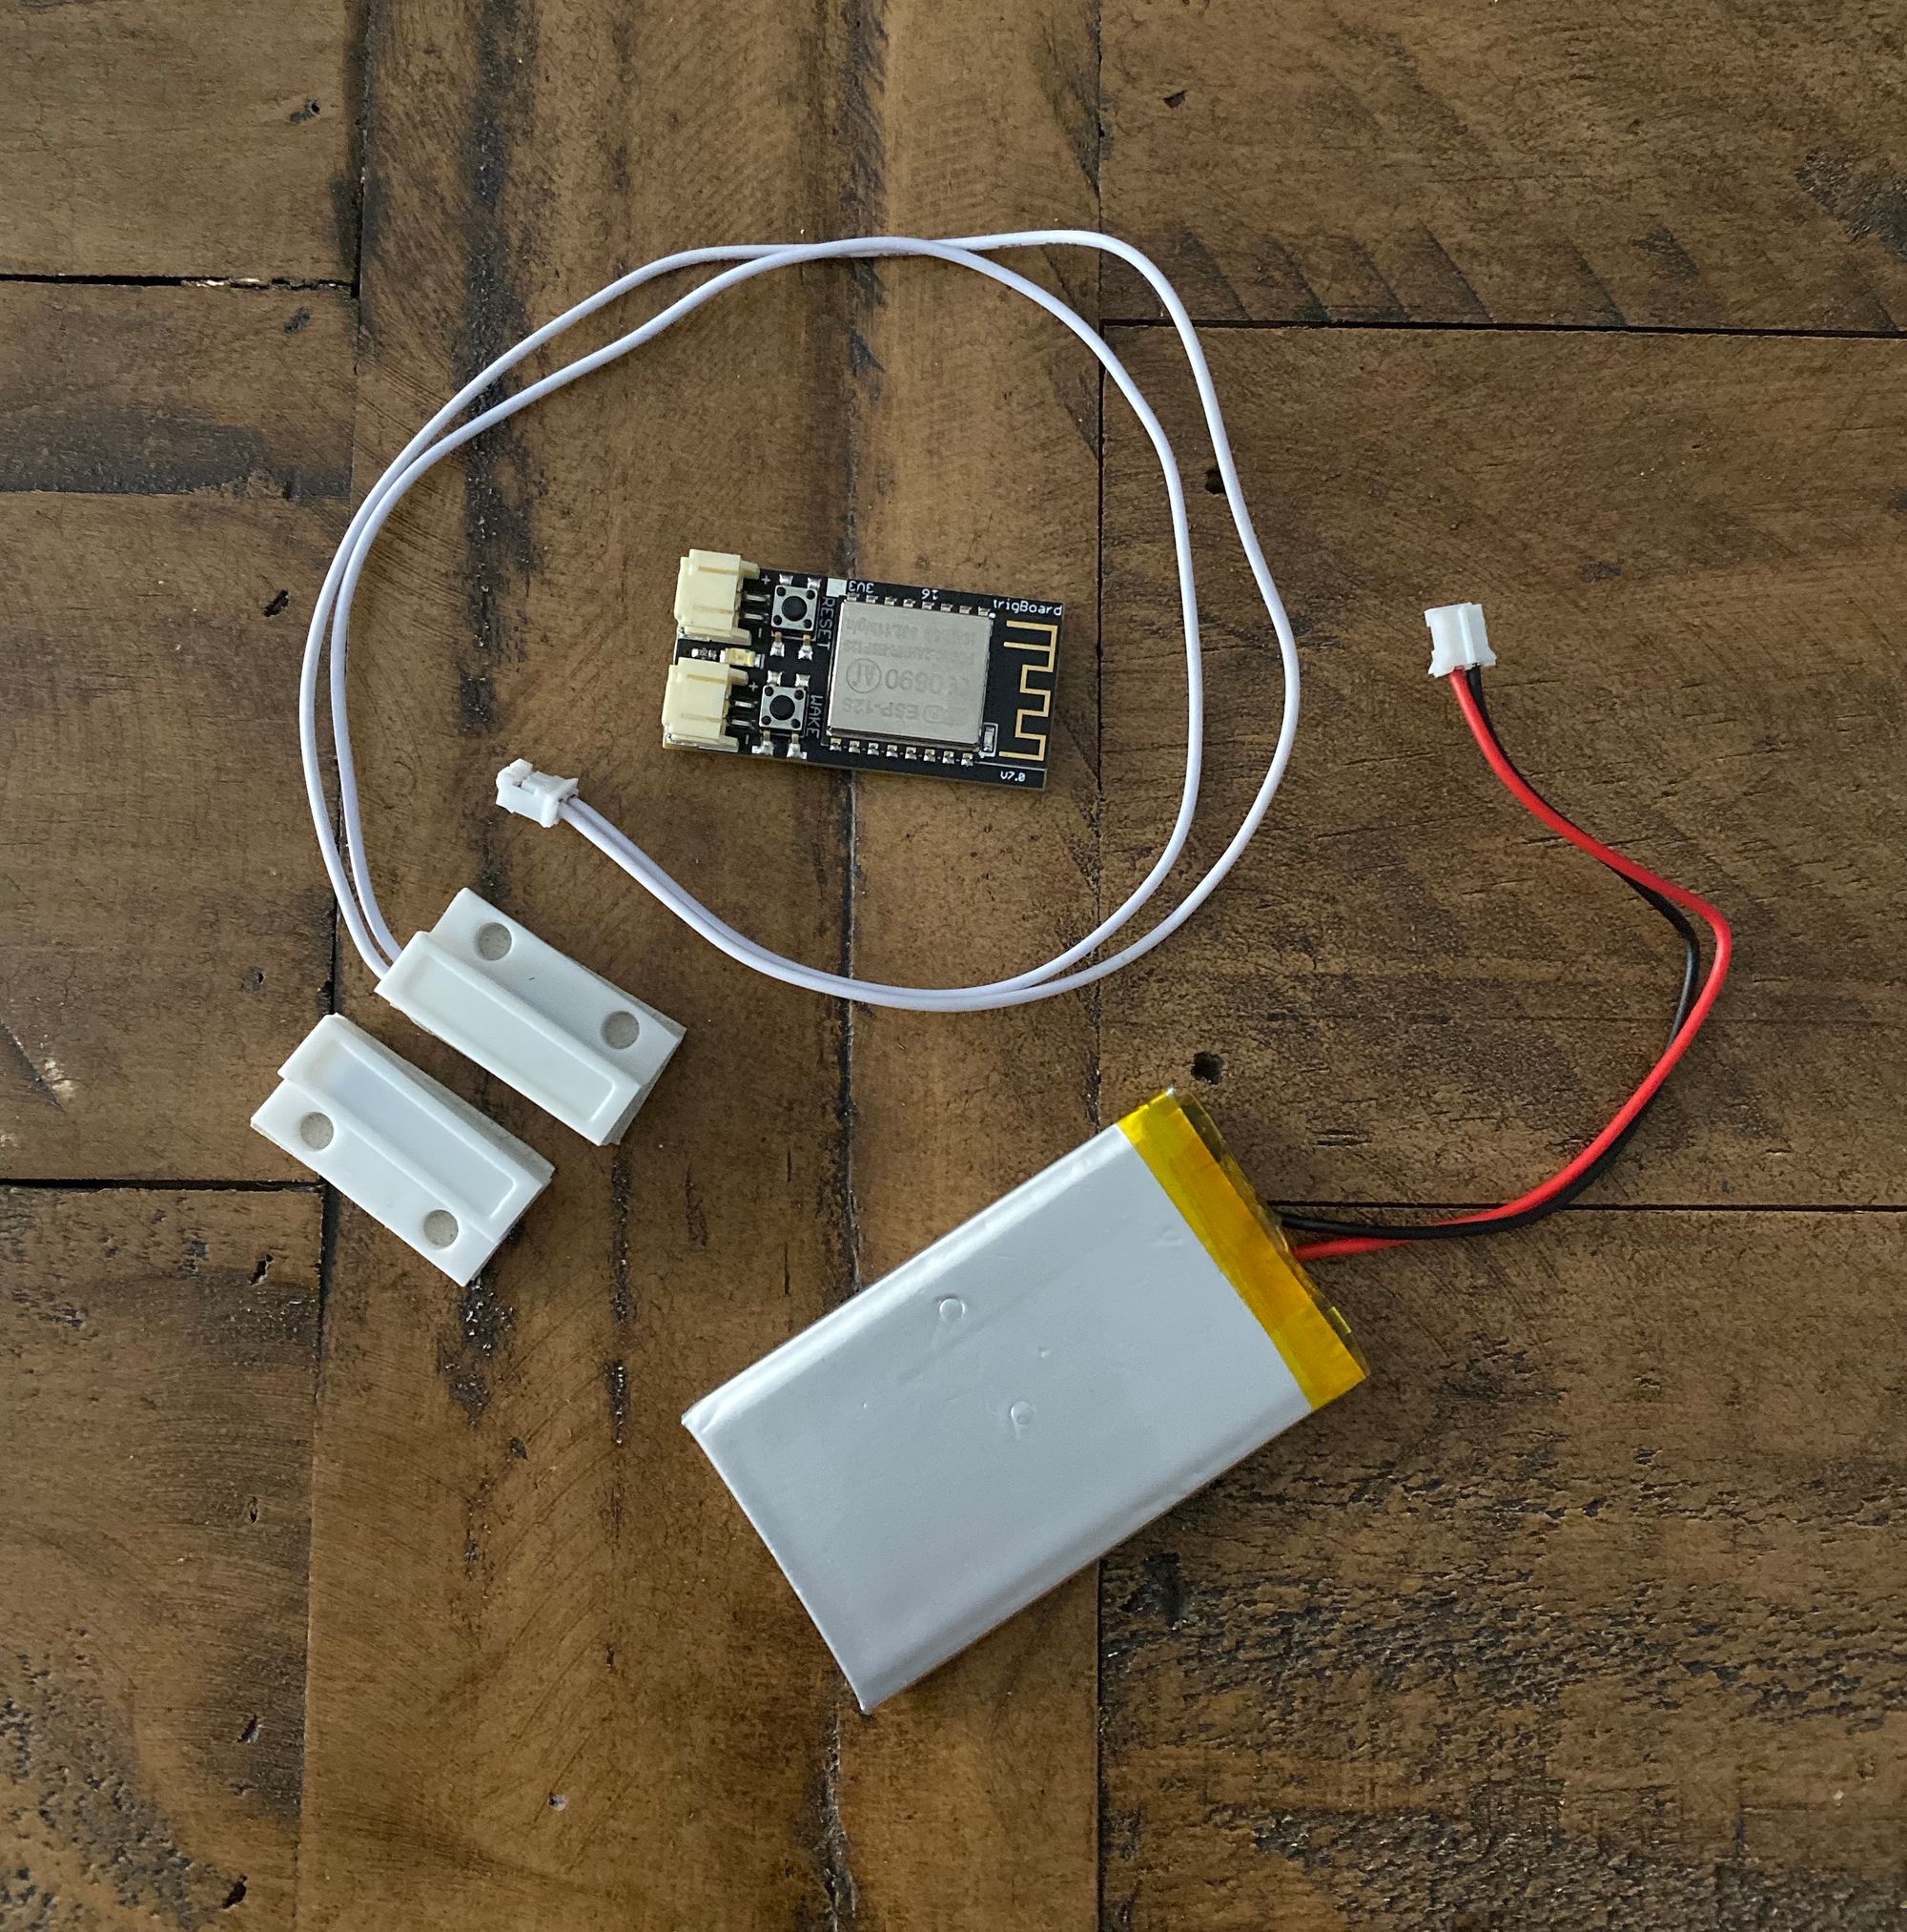
I used the following components:
- trigBoard, which you can find on Tindie - $15
- Magnetic contact sensor - 3.5 €
- Micro-JST PH 2mm connector - 9 € for a bag of 20
- 3.7V 1200 mAh LiPo battery - 12 €
- FTDI USB - Serial converter (needed only if you want to custom program the trigBoard) - $20
Total cost is around 60 €, but if you skip the USB-Serial converter and if you don't need a bag of JST connectors, it can come down to ~30 €.
The basics
trigBoard is a custom built board with an ESP8266 chip, using very little power. When idle, it uses less than 1µA, which makes the 1200 mAh battery last a very long time. I've had it running for more than 4 months now and the battery voltage hasn't dropped yet.
trigBoard works over Wi-Fi, so it's important that your home Wi-Fi is reachable where your mailbox is located. The distance in my case is around 20 meters, including one wall in between and the metal case of the mailbox. To be honest, I was surprised that this small piece of electronics with an integrated antenna would be able to have any signal within the "Faraday cage" which is our mailbox.
The system is set up so that the magnetic sensor triggers the trigBoard, which connects to the internet via Wi-Fi and using Pushsafer sends a push notification to my phone. When it's done, the board disconnects from Wi-Fi and goes into standby.
The system doesn't know whether something is actually in the mailbox. It just gets triggered whenever the mailbox flap is lifted, and the passive magnetic sensor notices the separation between its two parts. The magnetic sensor being passive is great because it doesn't additionally use the battery to detect when it's open or closed.
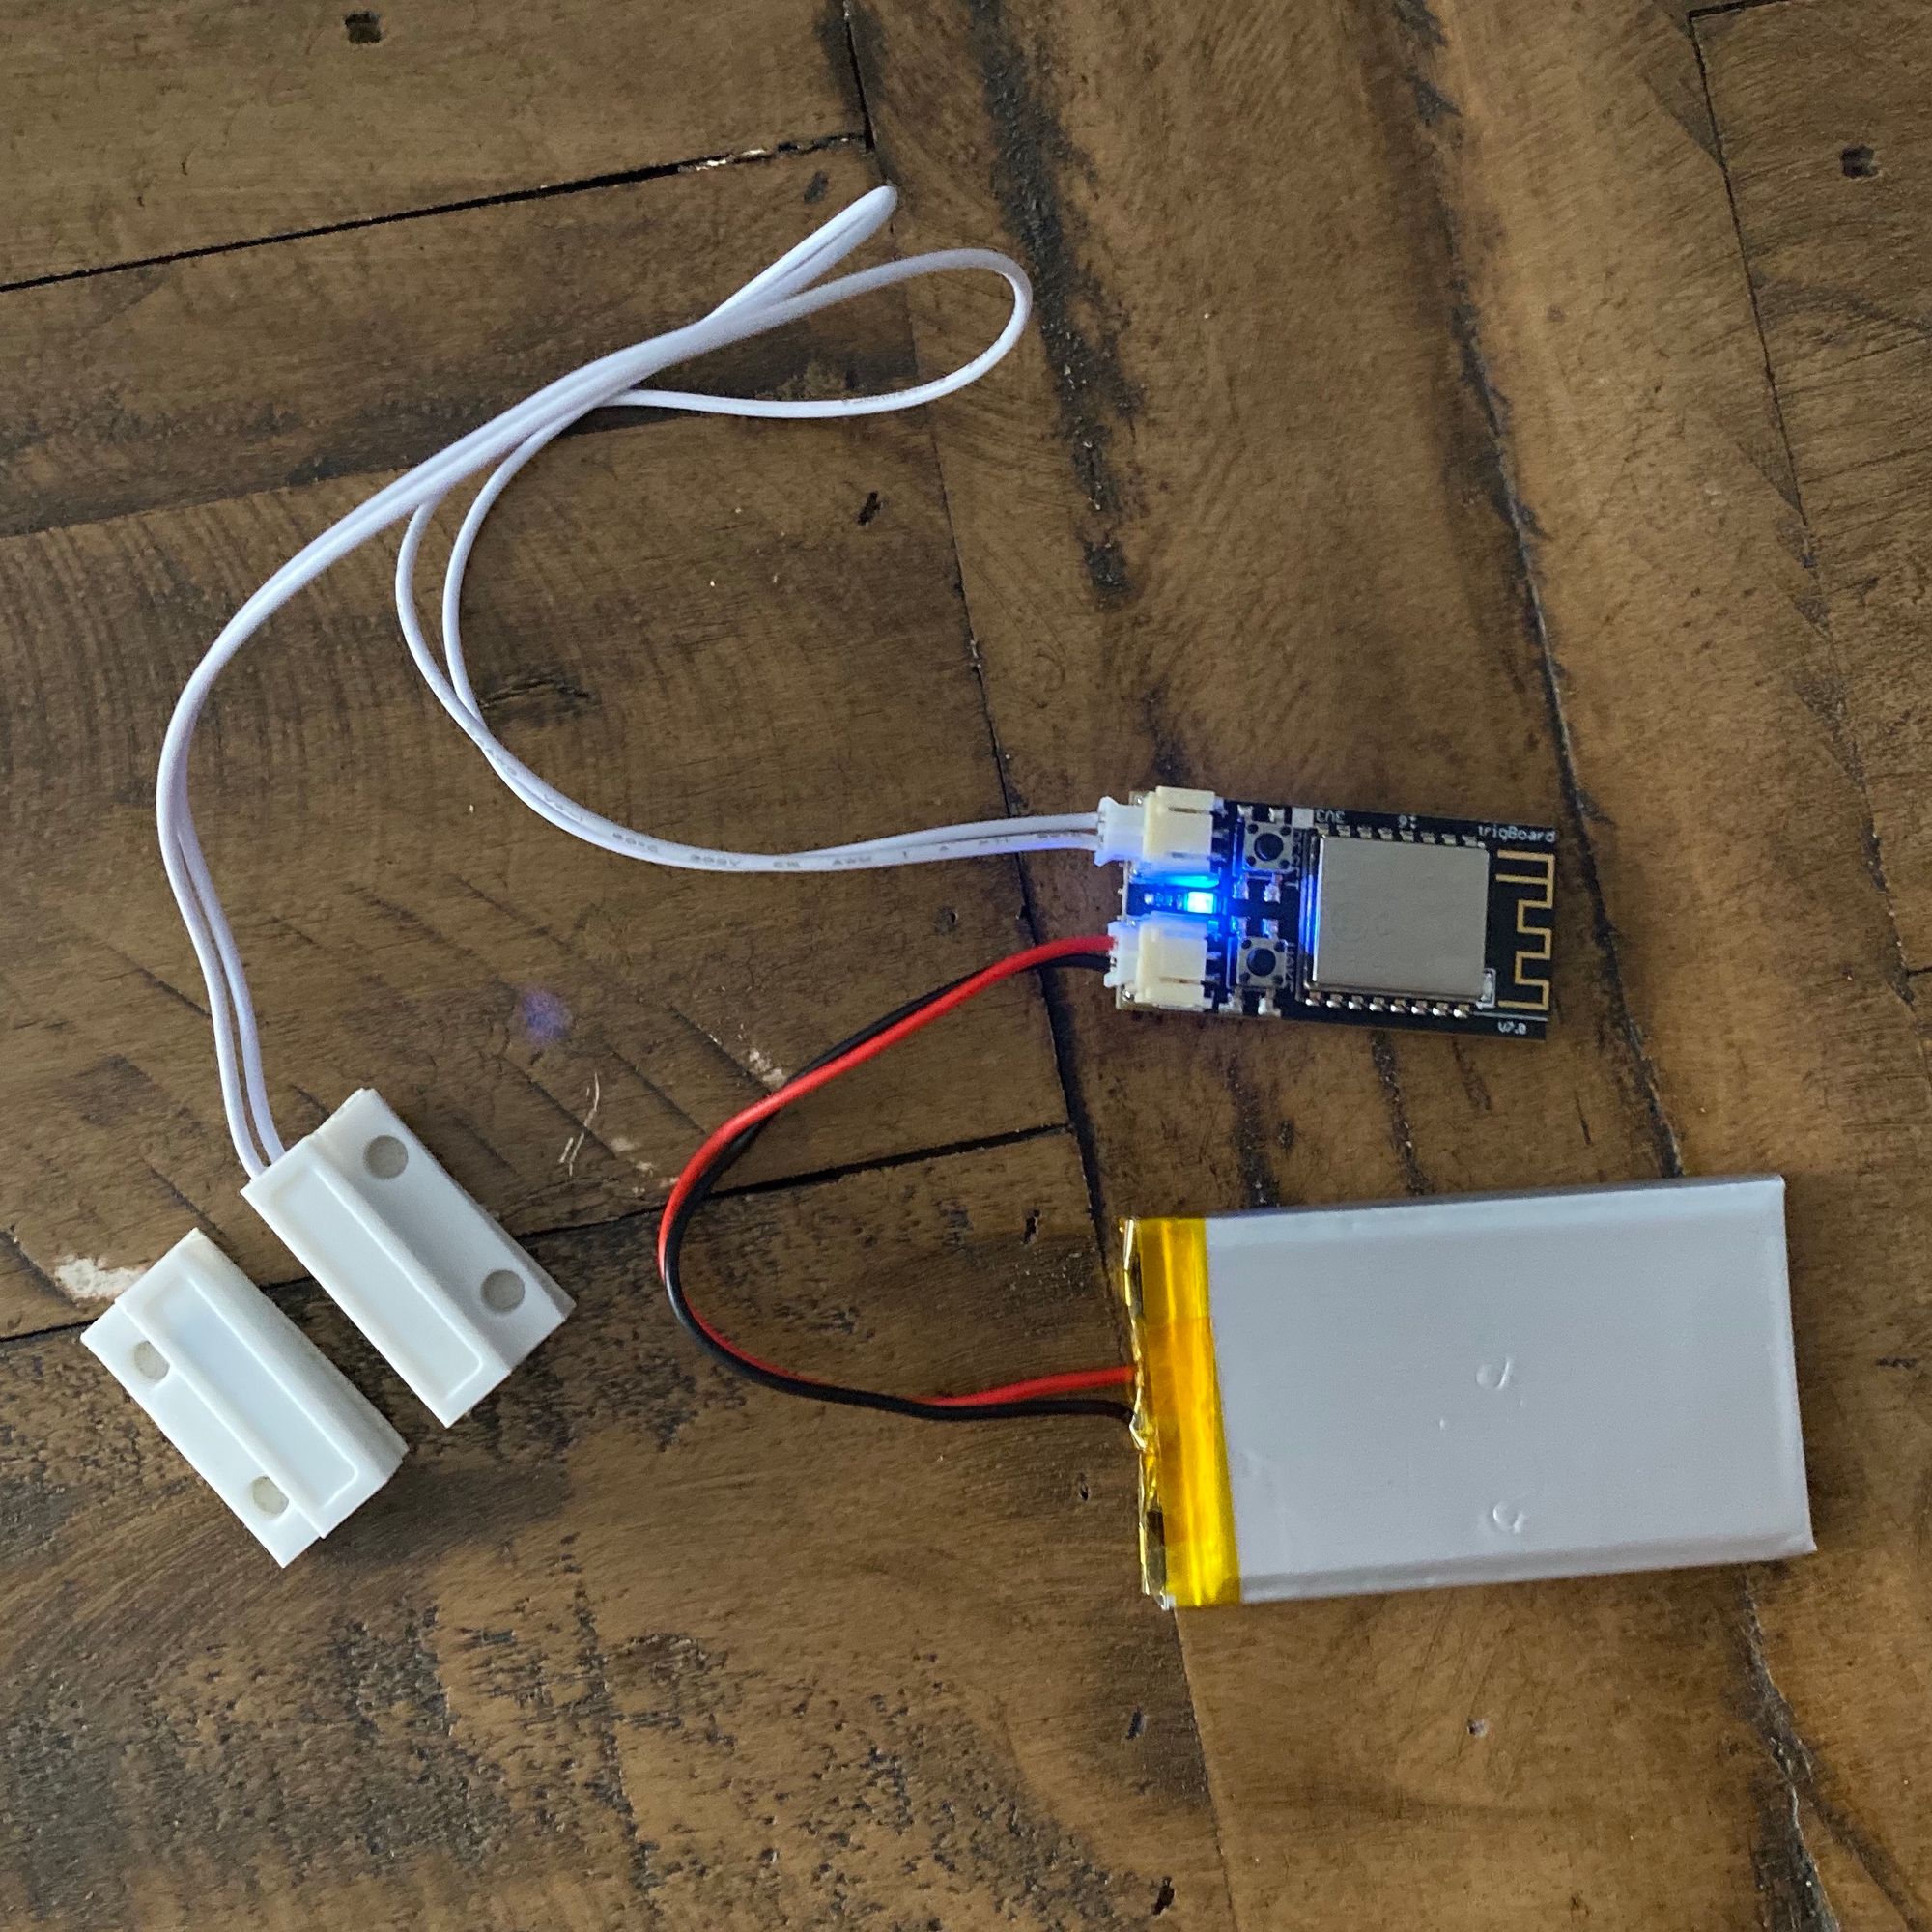
Connecting the pieces
In order to connect the magnetic sensor cables to the trigBoard you need a micro-JST connector. After connecting the sensor to the SENSE port on the trigBoard, connect the battery to the BAT port. That's it! You can now wake the board by pressing the WAKE button.
Setting up Pushsafer
trigBoard is by default programmed to use Pushsafer to easily deliver push notifications to your devices. Sign up to this service and register your phone, so that it can start receiving notifications. From the main Dashboard page you should note down your private key. This will be used in the next step.
Pushsafer gives you a few API calls (notifications) for free when you sign up, but if you plan on using this service longer, you should buy some credits. It's very cheap (1.000 calls = 0.99 €).

Configuring the trigBoard
To get the trigBoard into setup mode, hold the WAKE button until you see the LED flash. You will then have 2 minutes to configure the board. On your computer find the trigBoard Wi-Fi network and connect to it.
If you don't get a captive portal browser window pop up automatically, open http://192.168.4.1 manually in your browser. Configure the trigBoard so that it connects to your home Wi-Fi in the future by giving it the SSID (name) of your network and its password.
trigBoard also needs the Pushsafer private key from the previous step, in order to use its API to send you notifications. You should also choose a name for your trigBoard and a message to be used in notifications.
After you save the settings, trigBoard will restart. Test whether it works by opening / closing the magnetic sensor.
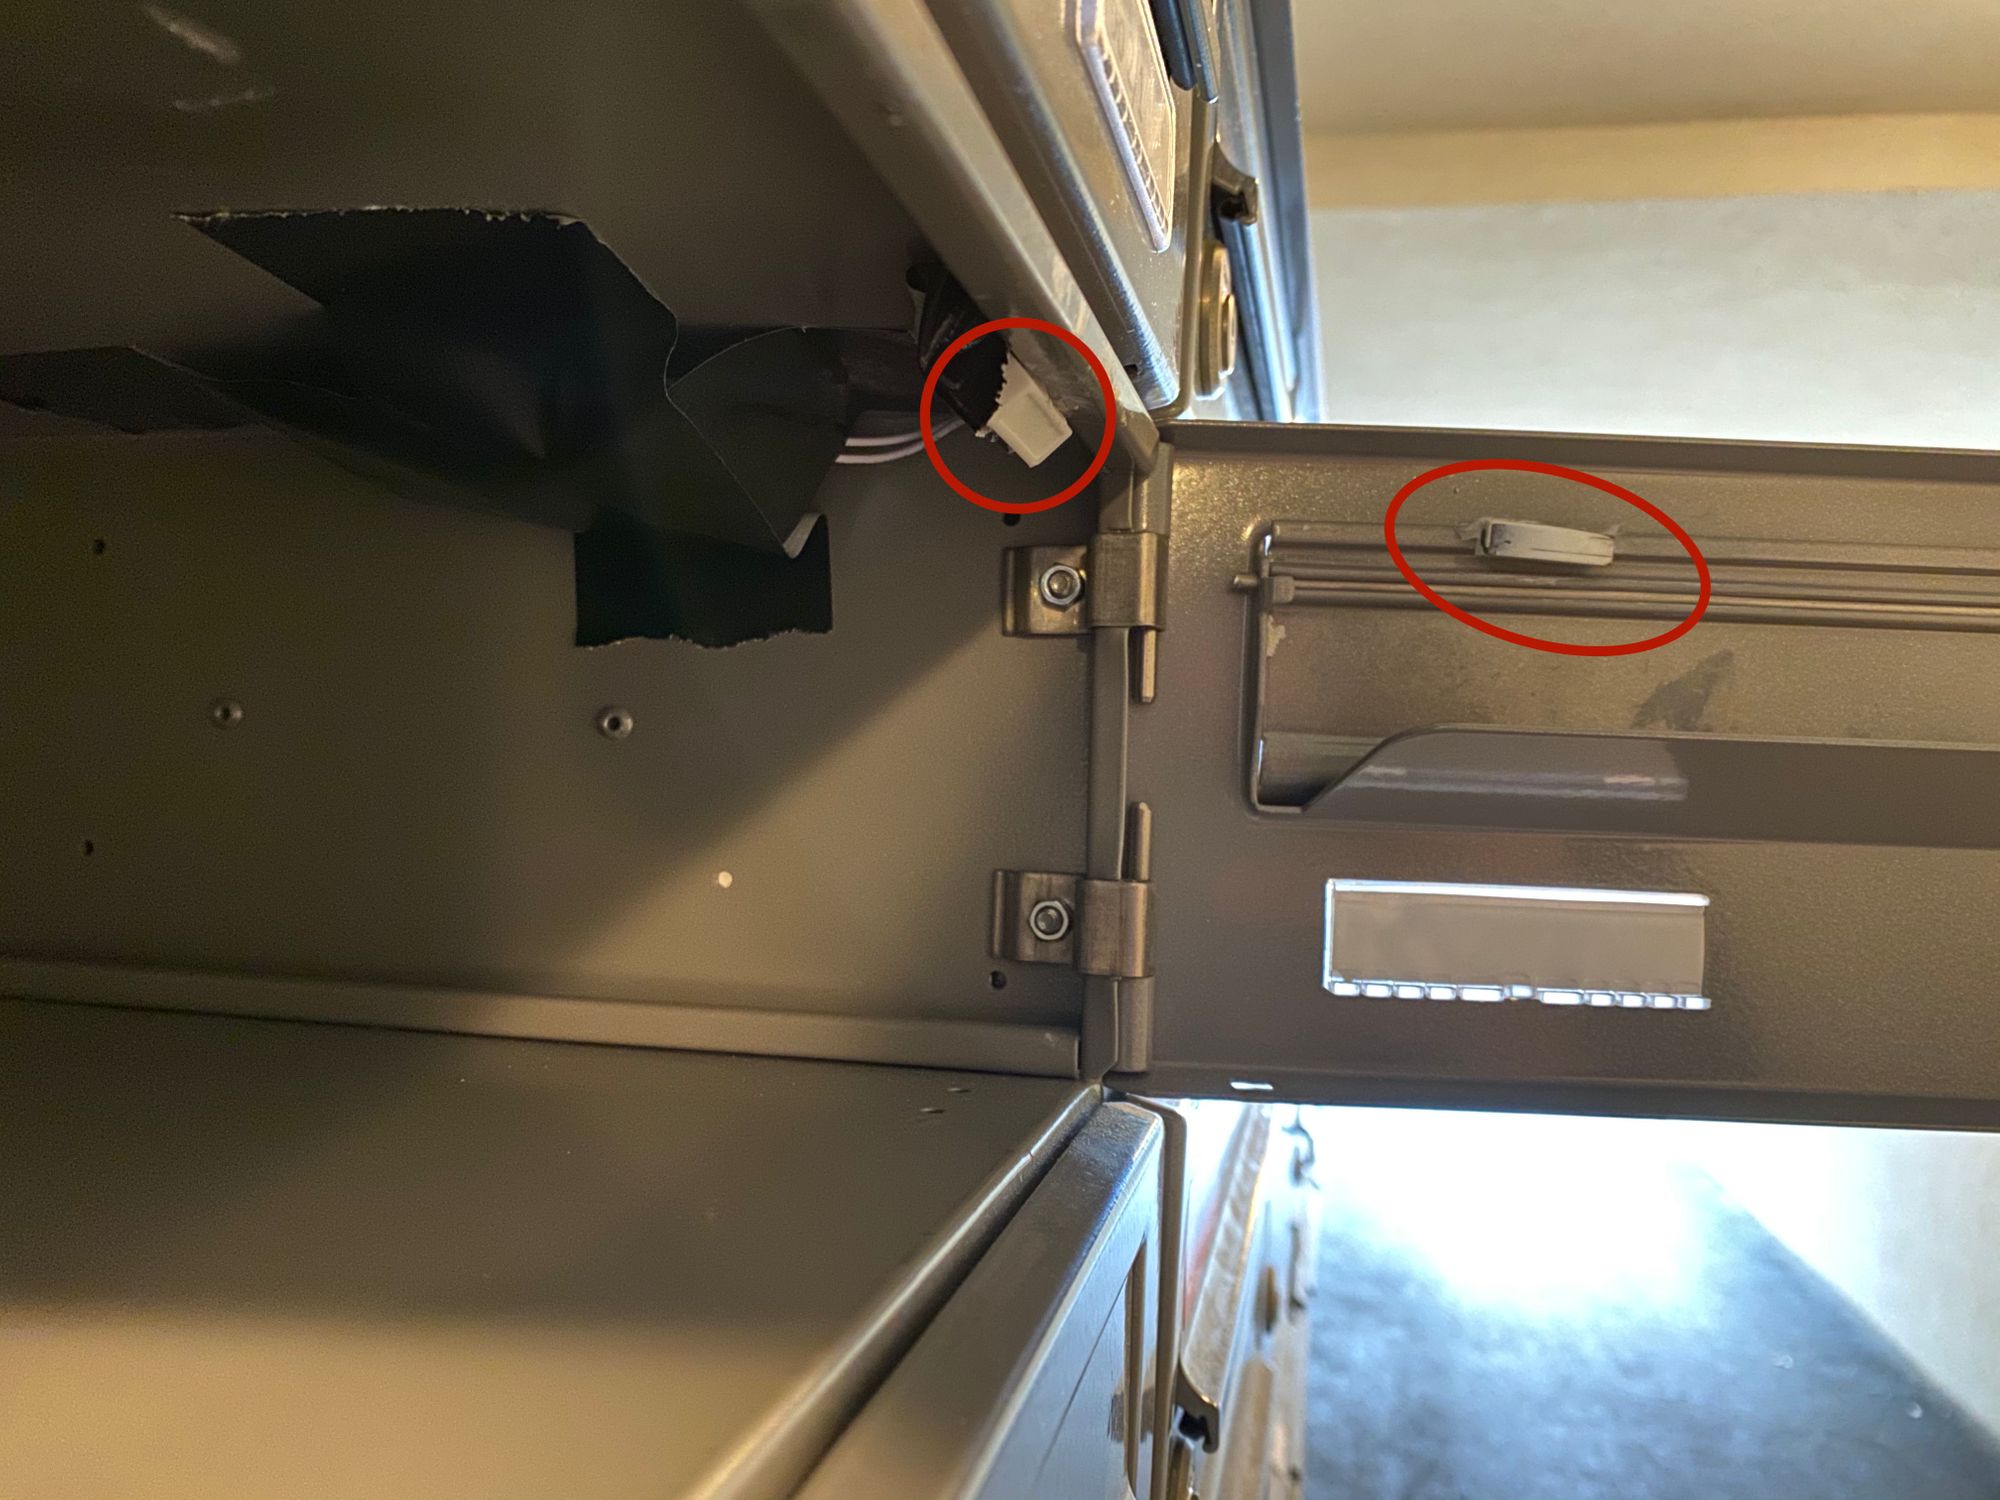
Mounting
For now I temporarily mounted the trigBoard and the battery within the mailbox using duct tape, as we'll be moving to a new home soon. The two magnetic sensor parts I glued to the mailbox using a hot glue gun, one to the frame, one to the flap.
Programming the trigBoard
This step is only necessary if you want to change the default code that is pre-installed on the trigBoard.
To connect the trigBoard to my laptop I used the FTDI USB-Serial converter developed by the same Tindie seller (Kevin Darrah). I didn't test it with other converters, but it should work.
All of the instructions are already described on trigBoard's wiki page, but I'll summarize it here:
- Download the Arduino code.
- Connect the USB-Serial converter to trigBoard and your computer.
- Connect the battery to trigBoard.
- Start Arduino.
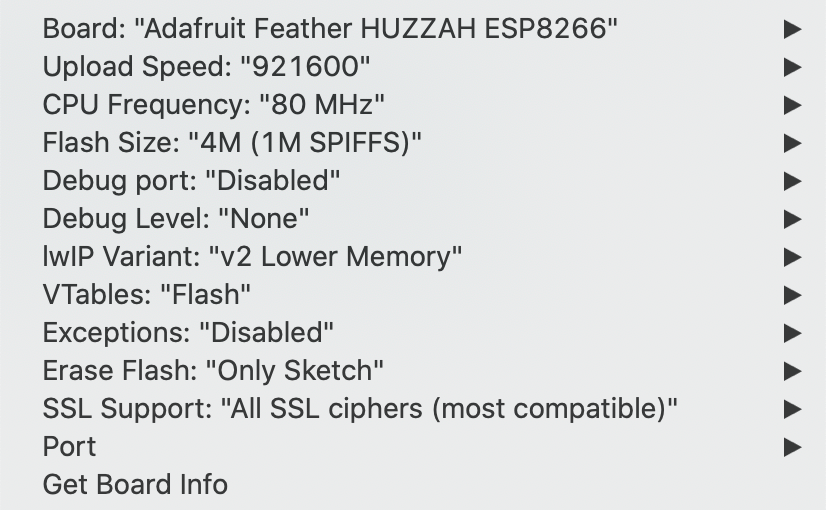
- Set up Arduino. Open Preferences and add "http://arduino.esp8266.com/stable/package_esp8266com_index.json" to to the "Additional Boards Manager URL". Open the Boards Manager, search for ESP8266 and install it.
- Install Arduino libraries: WIFImanager by tzapu. ArduinoJson by Benoit Blanchon. Pushsafer.