DIY Kitchen Wall Display
My plan is to have useful information available in the kitchen during breakfast and throughout the day; things like weather, calendar, reminders, photos…

Why?
I used the time during this pandemic holiday season for my DIY home project. Ever since we moved into our new house there were hanging power cables on one of the kitchen walls, initially planned for a light. It is located near upper cabinets, so in order to be able to fully open them the light would have to be very thin. We had plenty of light sources in the kitchen already, so I got an idea of putting a smart home hub with display there. However, none of them would fit the available space, and I didn't want to make a big hole in the wall for the bulky back part of a smart home hub to fit in.
My plan is to have useful information available in the kitchen during breakfast and throughout the day; things like weather, calendar, reminders, photos…
I decided to build it on my own, using components easily found on Amazon. If you decide to use my links for your purchases, as an Amazon Associate I earn from qualifying purchases.
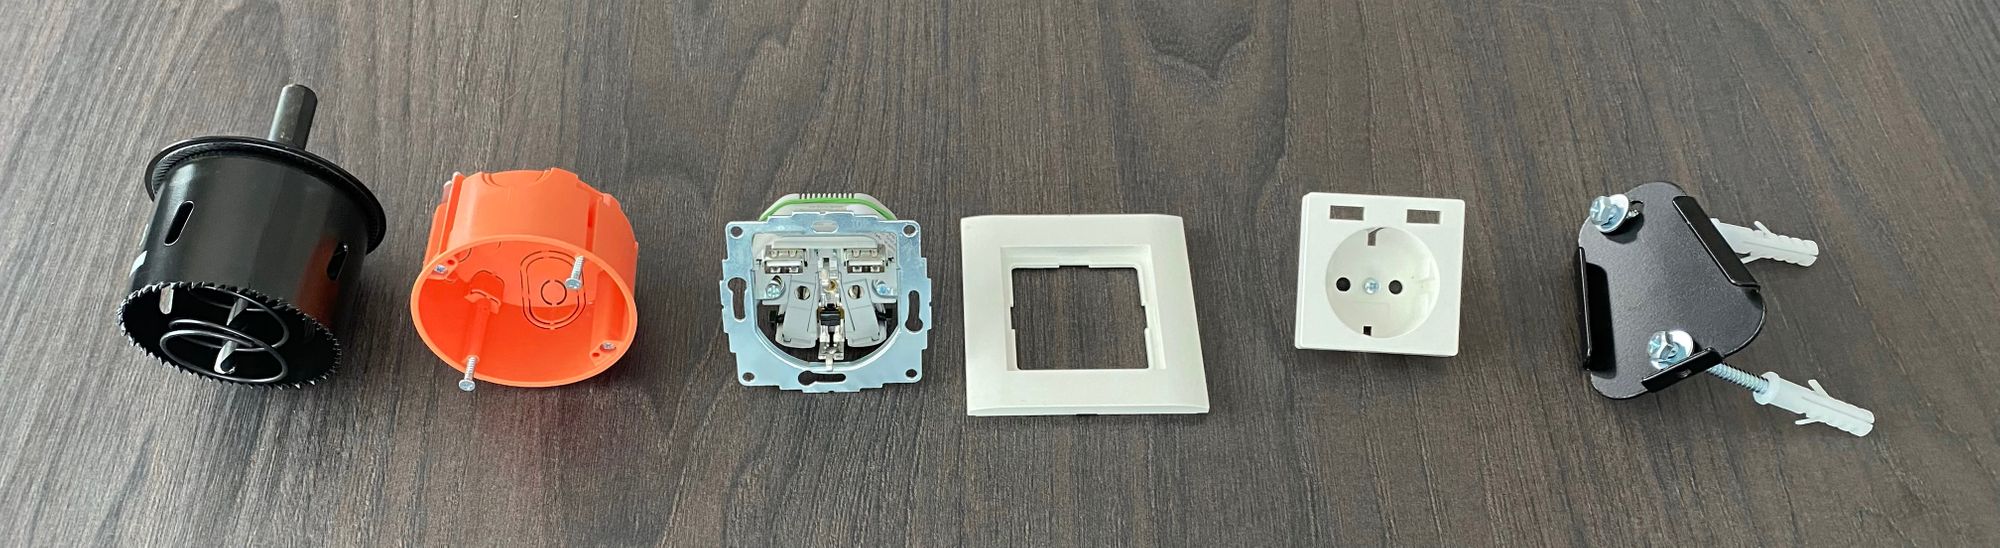
Components
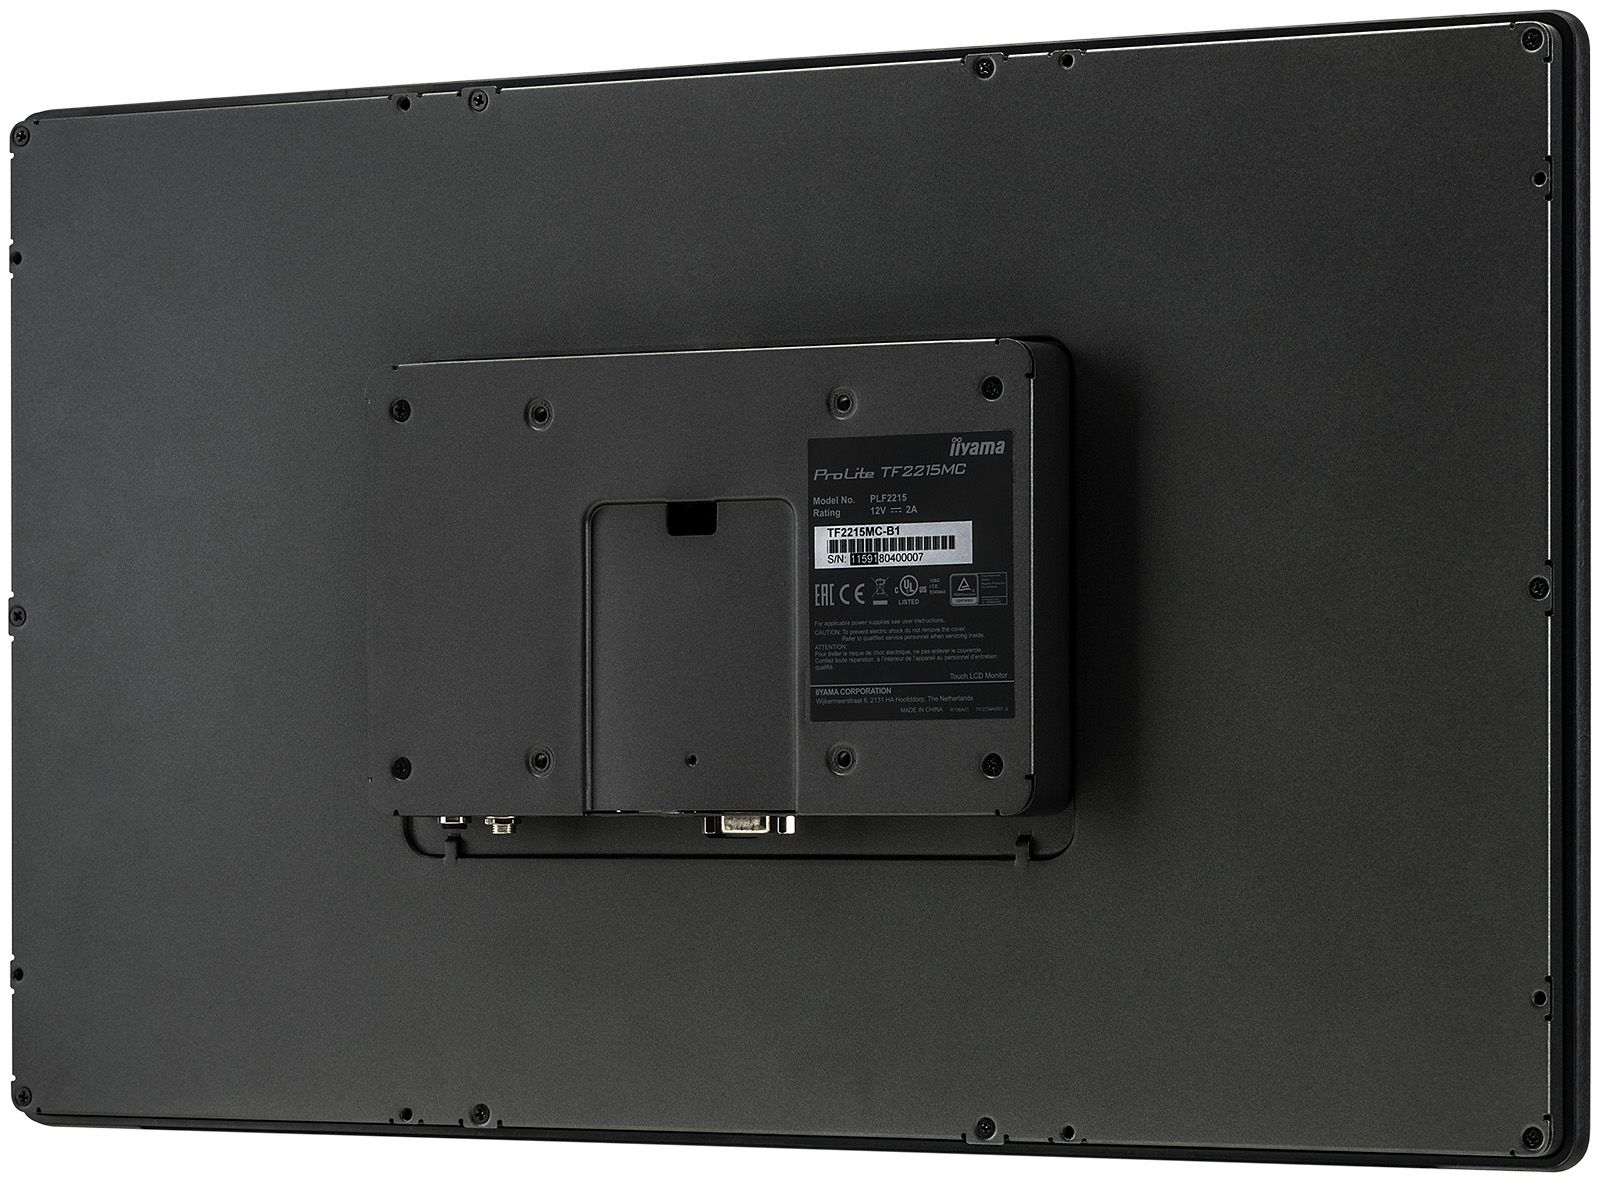
- 22" Touchscreen display - 470 € (US alternative)
- Raspberry Pi 4 set - 110 € (US link)
- VESA wall mount - 8 € (US alternative)
- Power socket with USB ports - 45 € (US alternative)
- Socket cover frame - 2.5 €
- USB-C Charging cable - 7 €
- USB touch interface cable - 6 €
- Cable management - 11 € (US alternative)
- Velcro-style mounting tape - 25 € (US link)
Total cost: ~700 €
Hardware Installation
Since I had power cables only hanging from a narrow hole in the wall, first I had to install a power socket box. I cut a circular hole (68 mm seems to be standard), installed the plastic orange box and the power socket. I needed 220 V (EU) power for the display power adapter, and one USB port to power the Raspberry Pi, so I bought a power socket which has both. The power output of the two USB ports in total is 2.1 A, but that seems to be enough for the Pi during my tests.
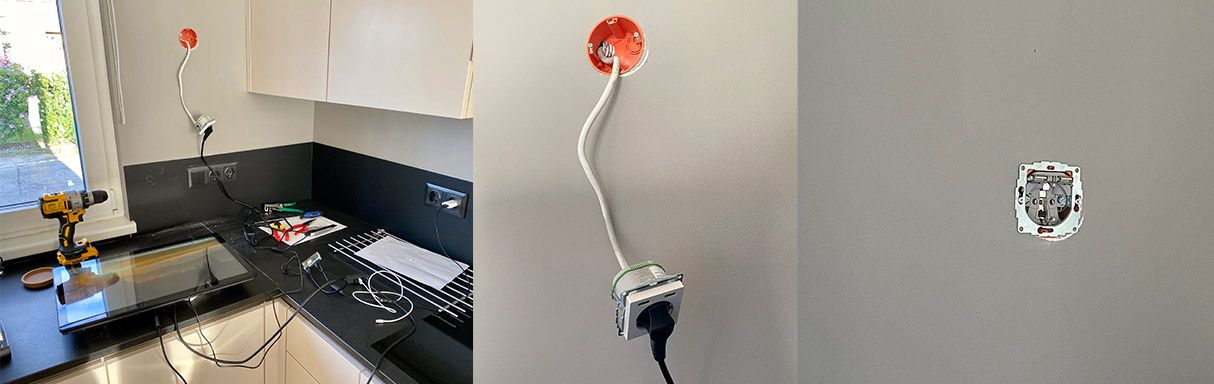
I wanted the display to be flush with the wall as much as possible, so that it doesn't block us from opening the kitchen cabinet and taking things out of it easily. That's why I used a narrow wall mount for the display, which lets the display hang at only 15 mm away from the wall. The display itself is 42.5 mm, so in total the whole thing is only ~6 cm thick.


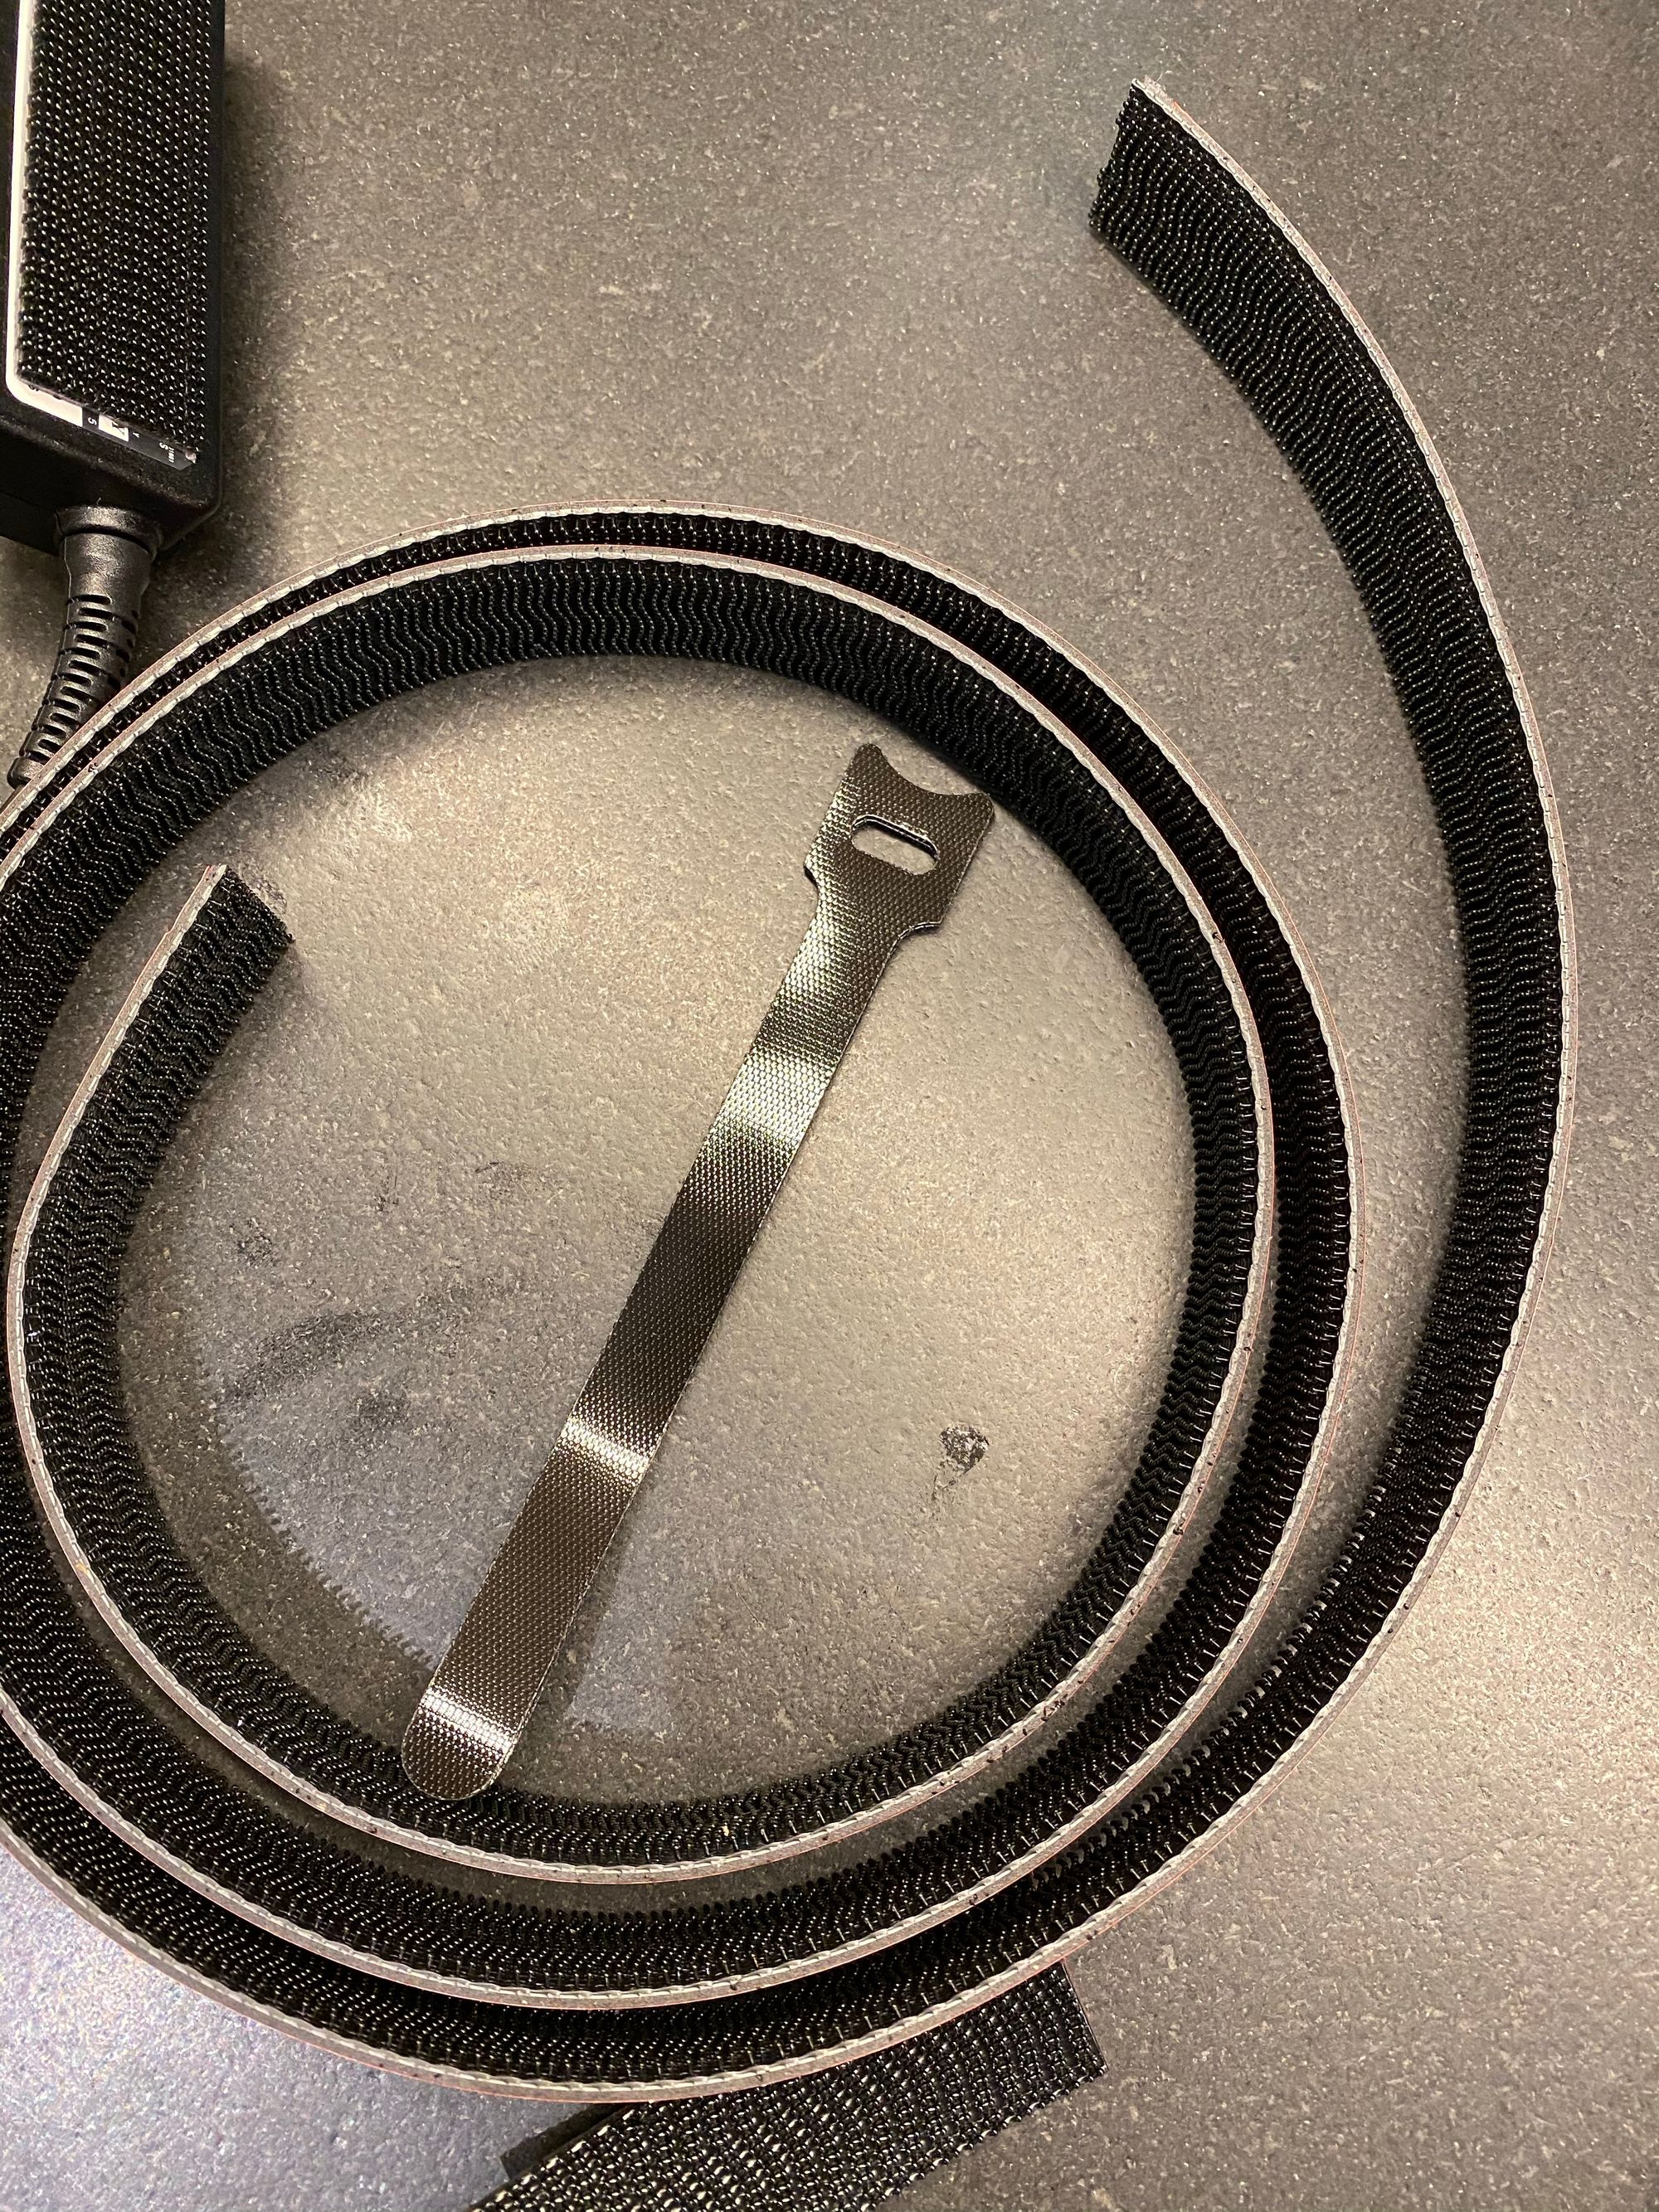
The display has a hump on the back for the electronics and ports, which made it easy to mount the Raspberry Pi and cables in the gap around it. To make sure cables aren't sagging below the display I used a few velcro cable ties, and to affix the Raspberry Pi box, as well as the display power adapter and remote controller I used a velcro style 3M tape.
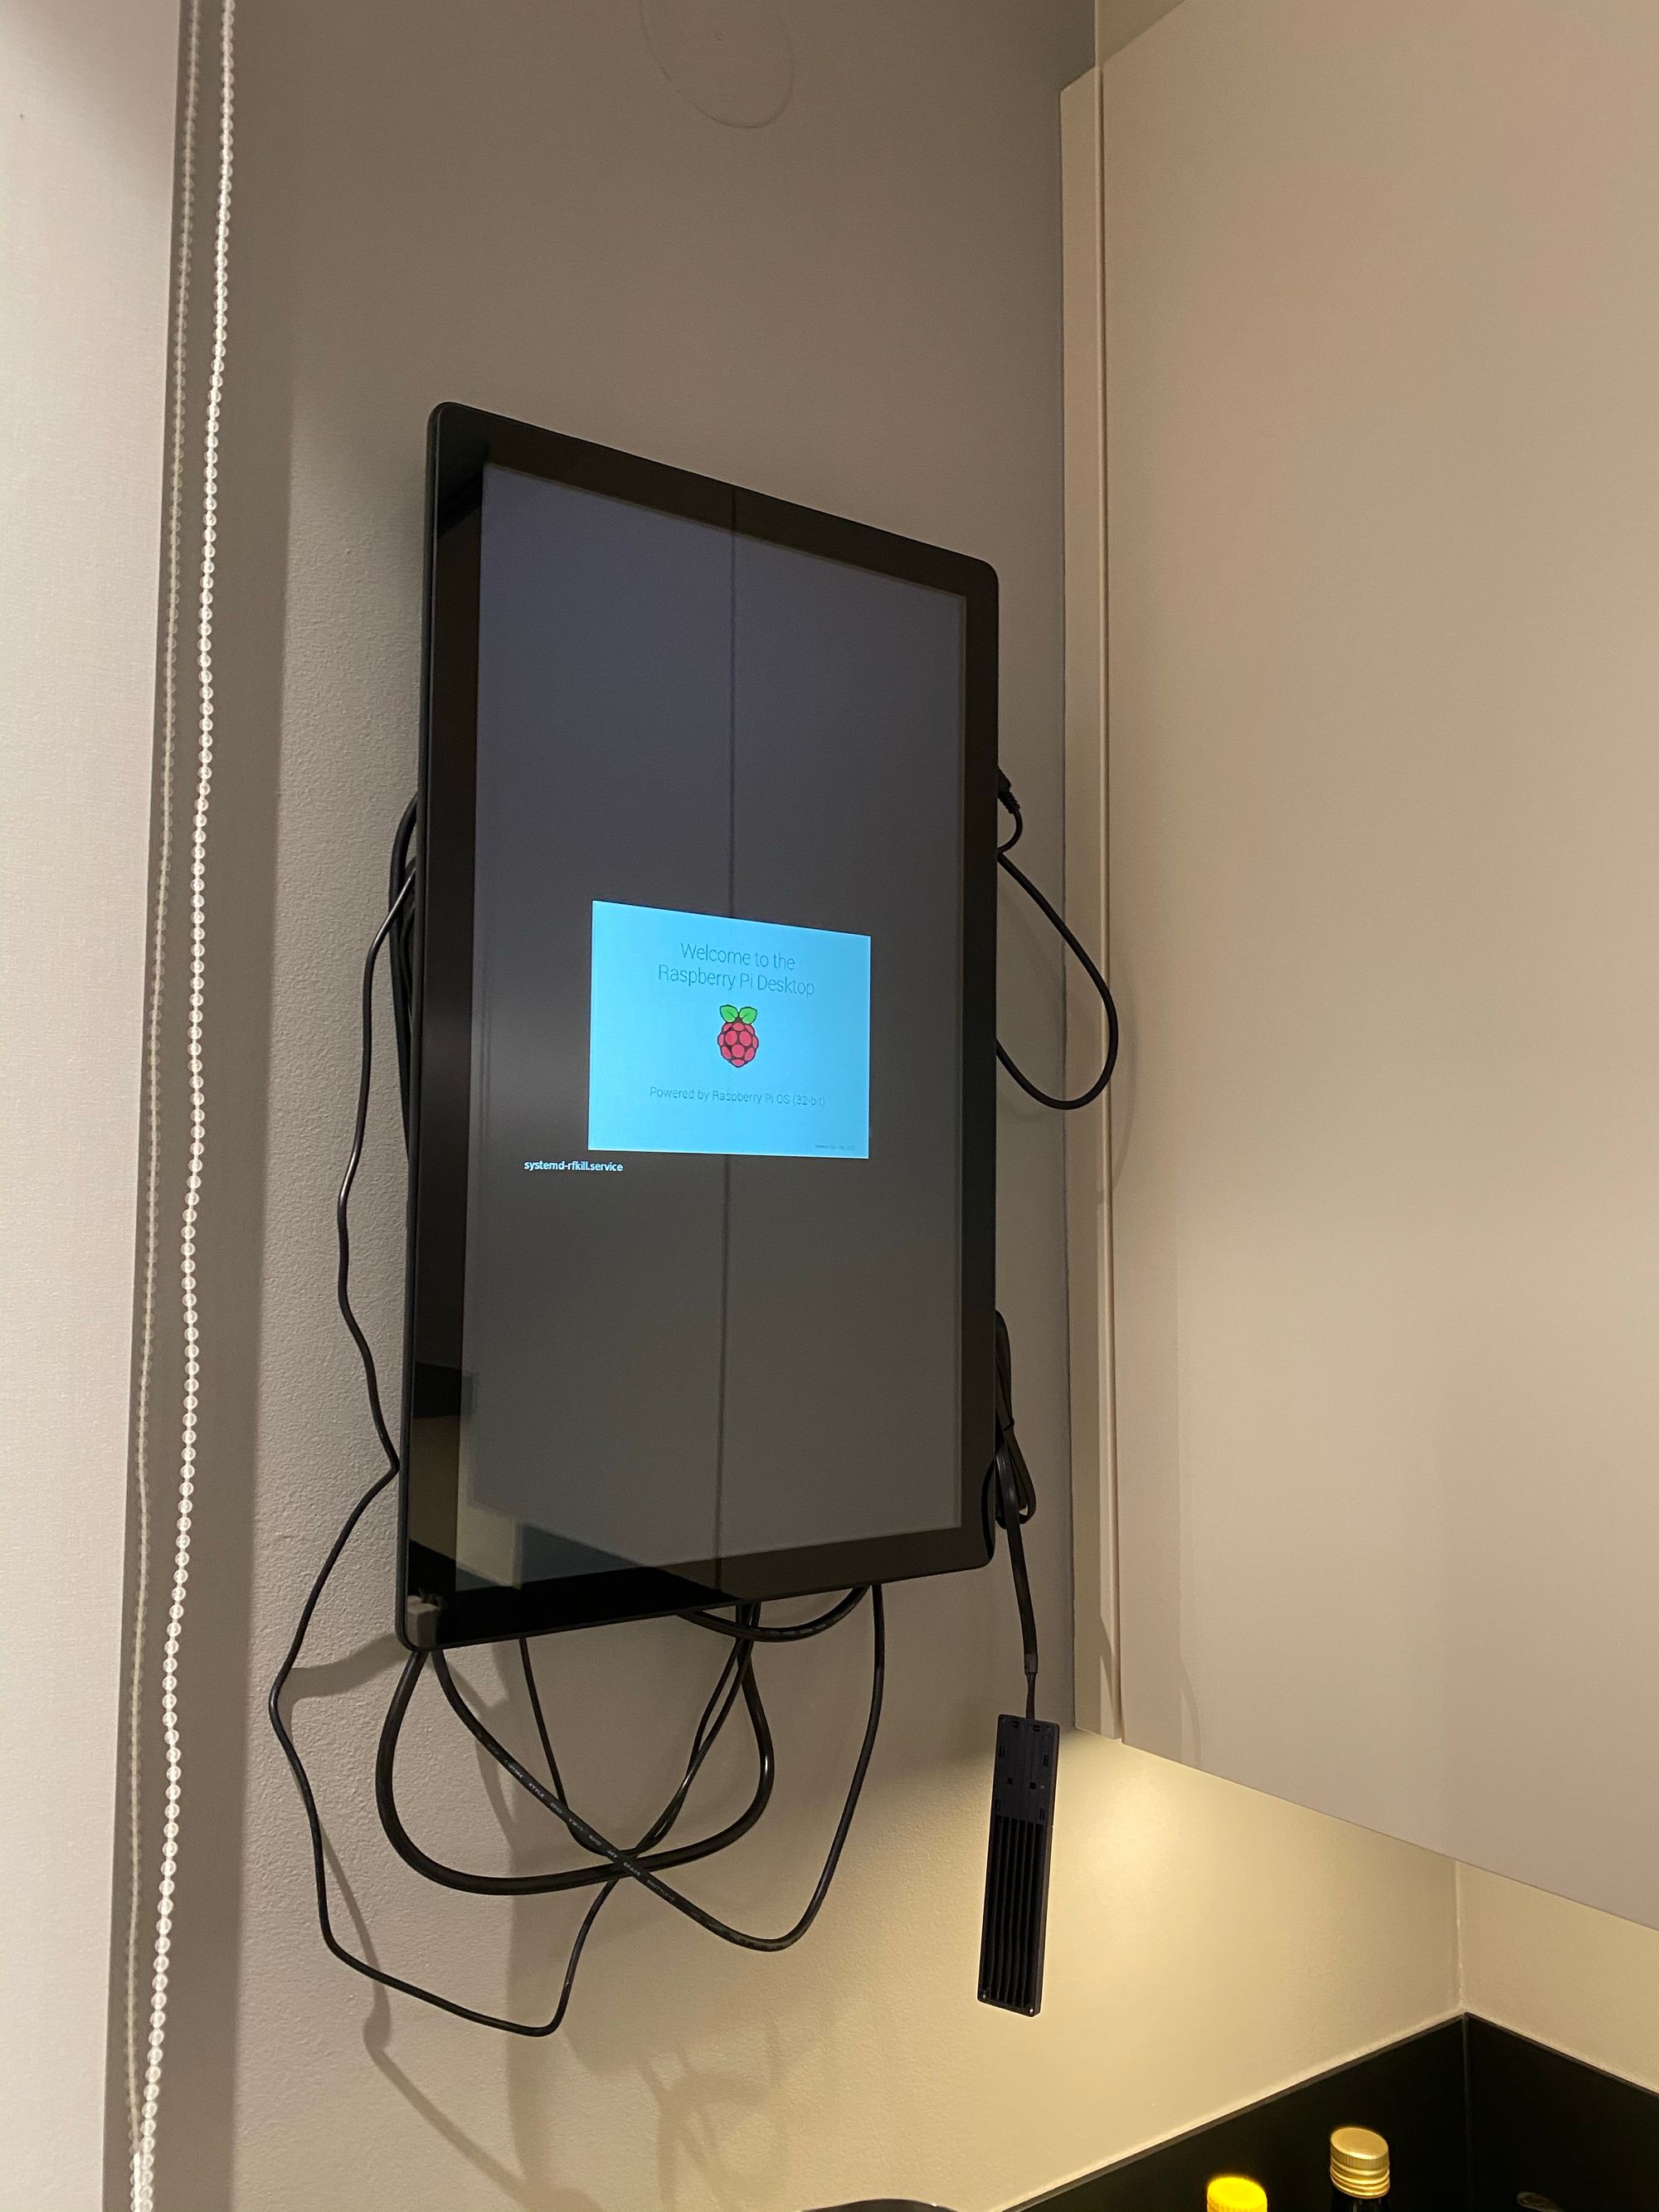
The display is a touchscreen, so it delivers its touch input to the Raspberry via a USB cable, and the Raspberry Pi delivers the video signal via an HDMI cable. The Pi is connected to the rest of the home and the internet over WiFi. The display I got comes with all the necessary cables, but I decided to replace some of them with shorter versions or ones with fitting ports without adapters (micro-HDMI on the Pi 4).
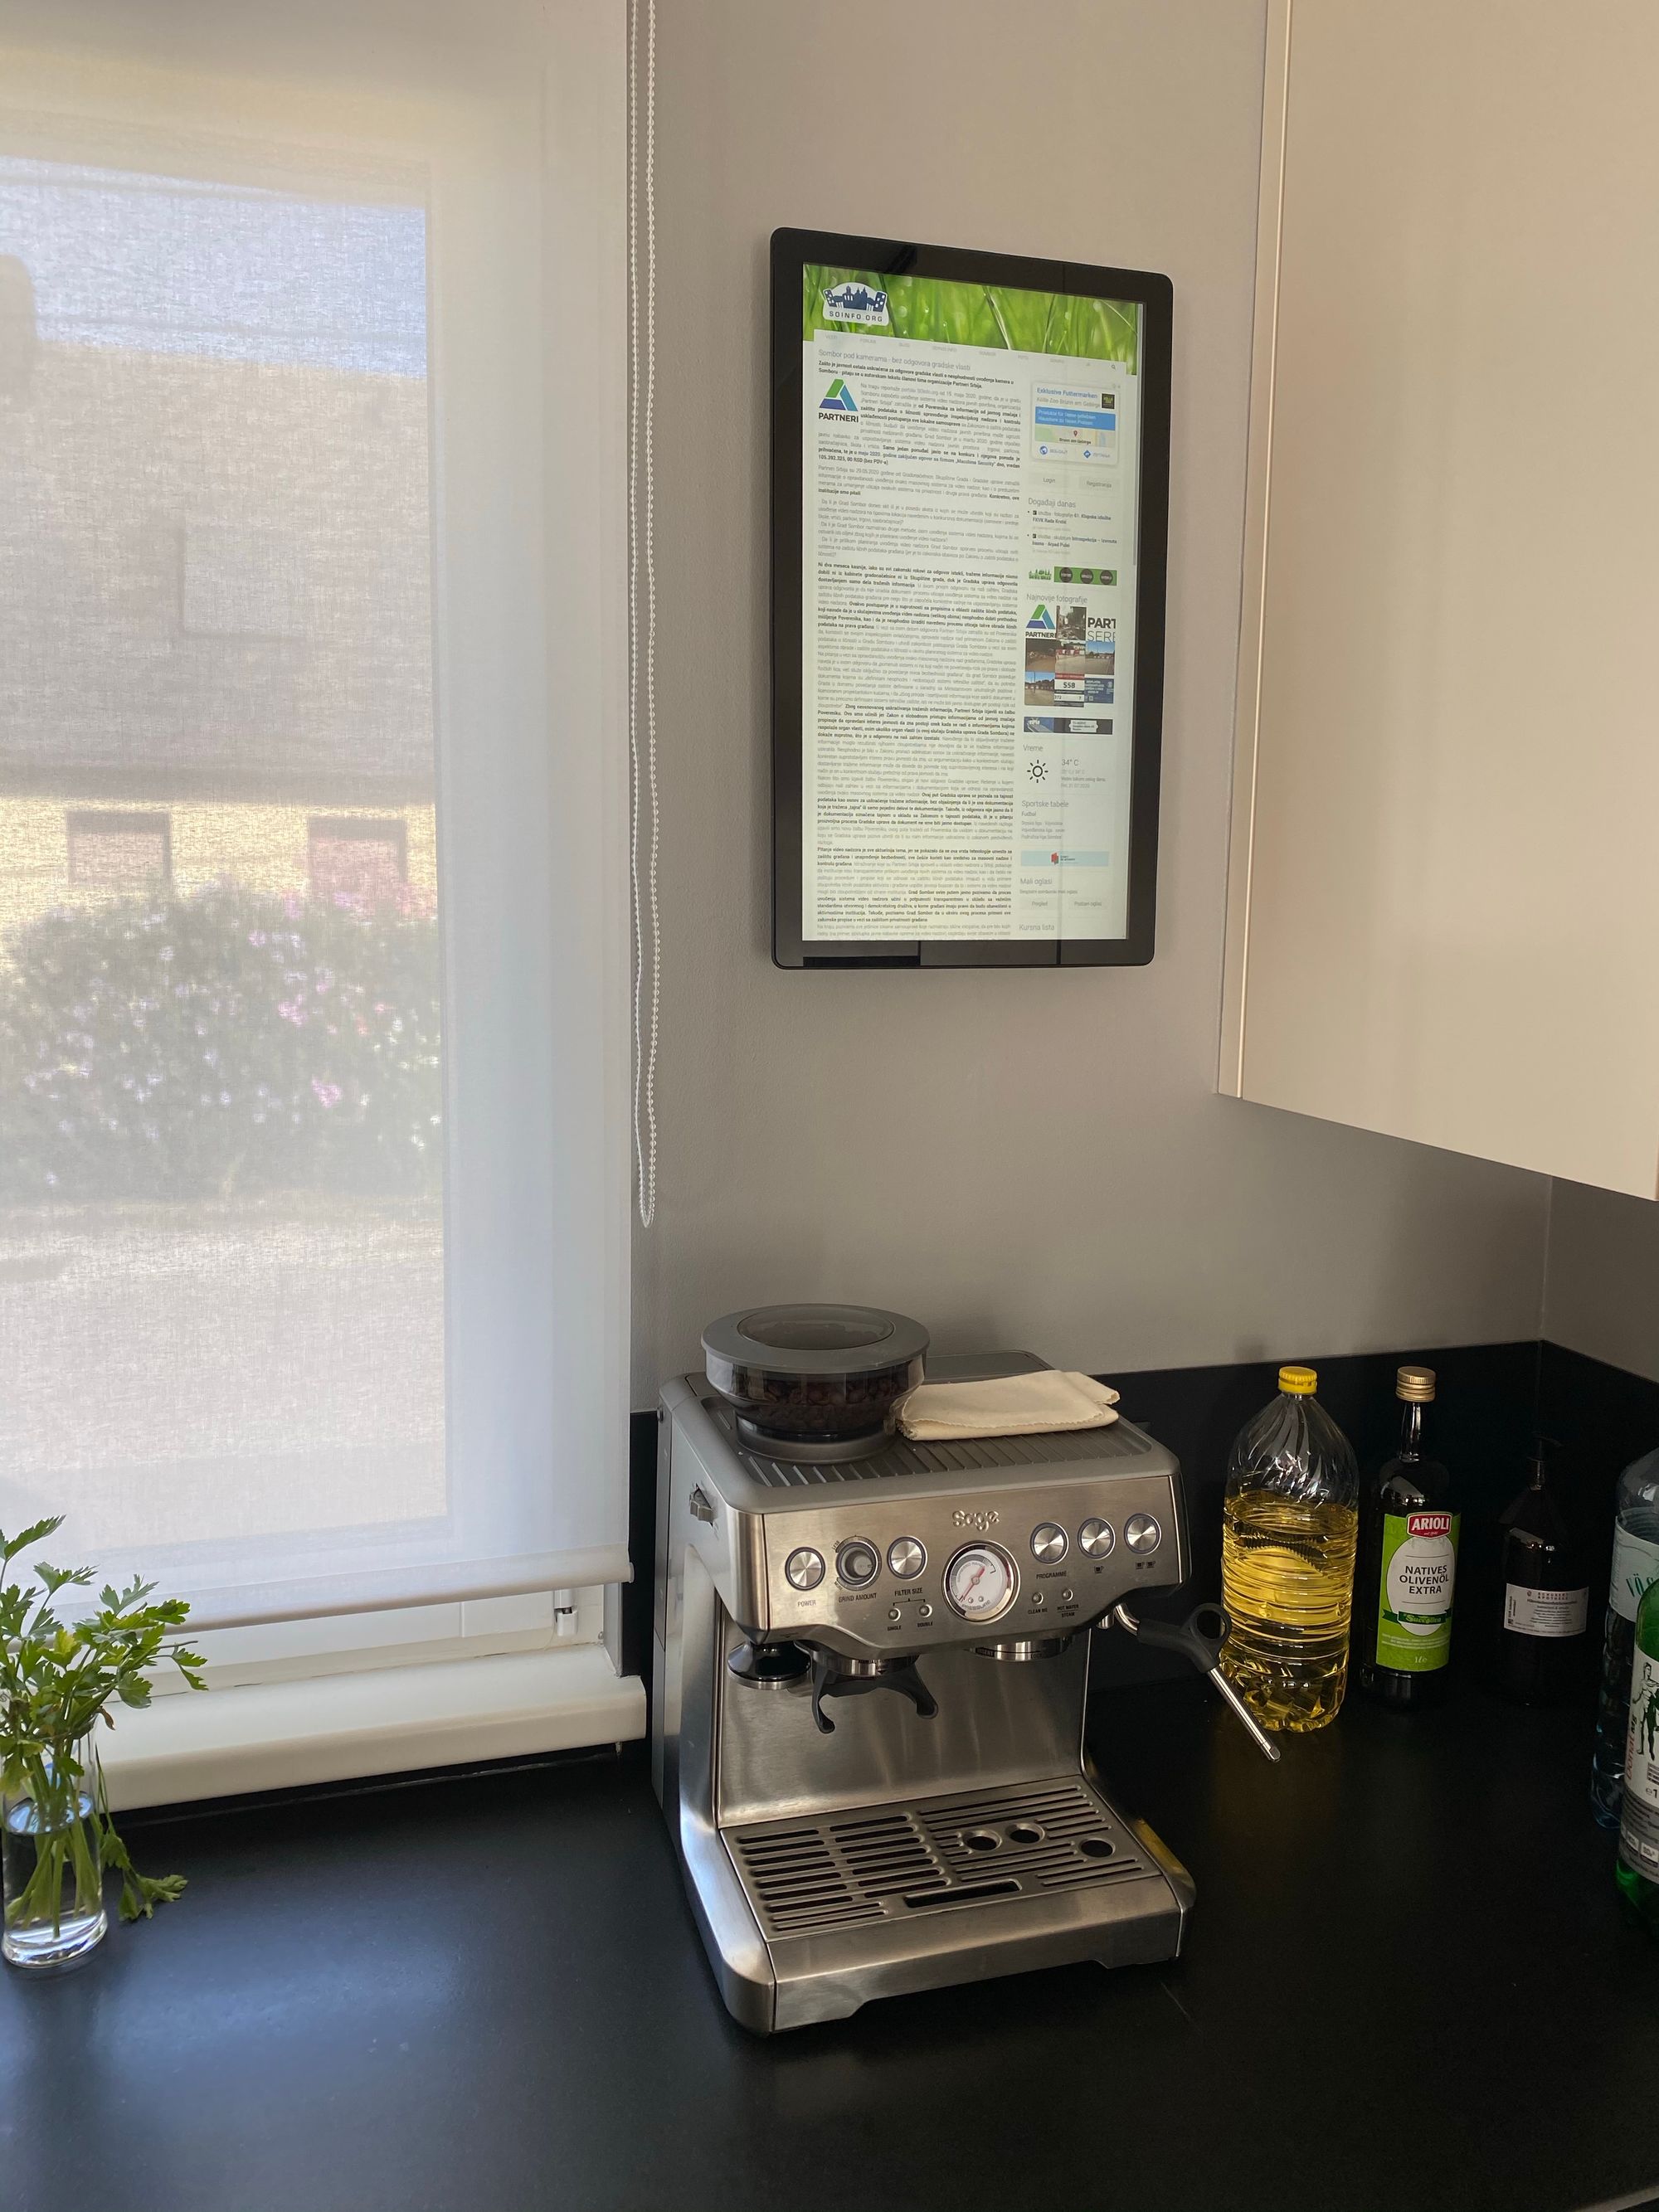
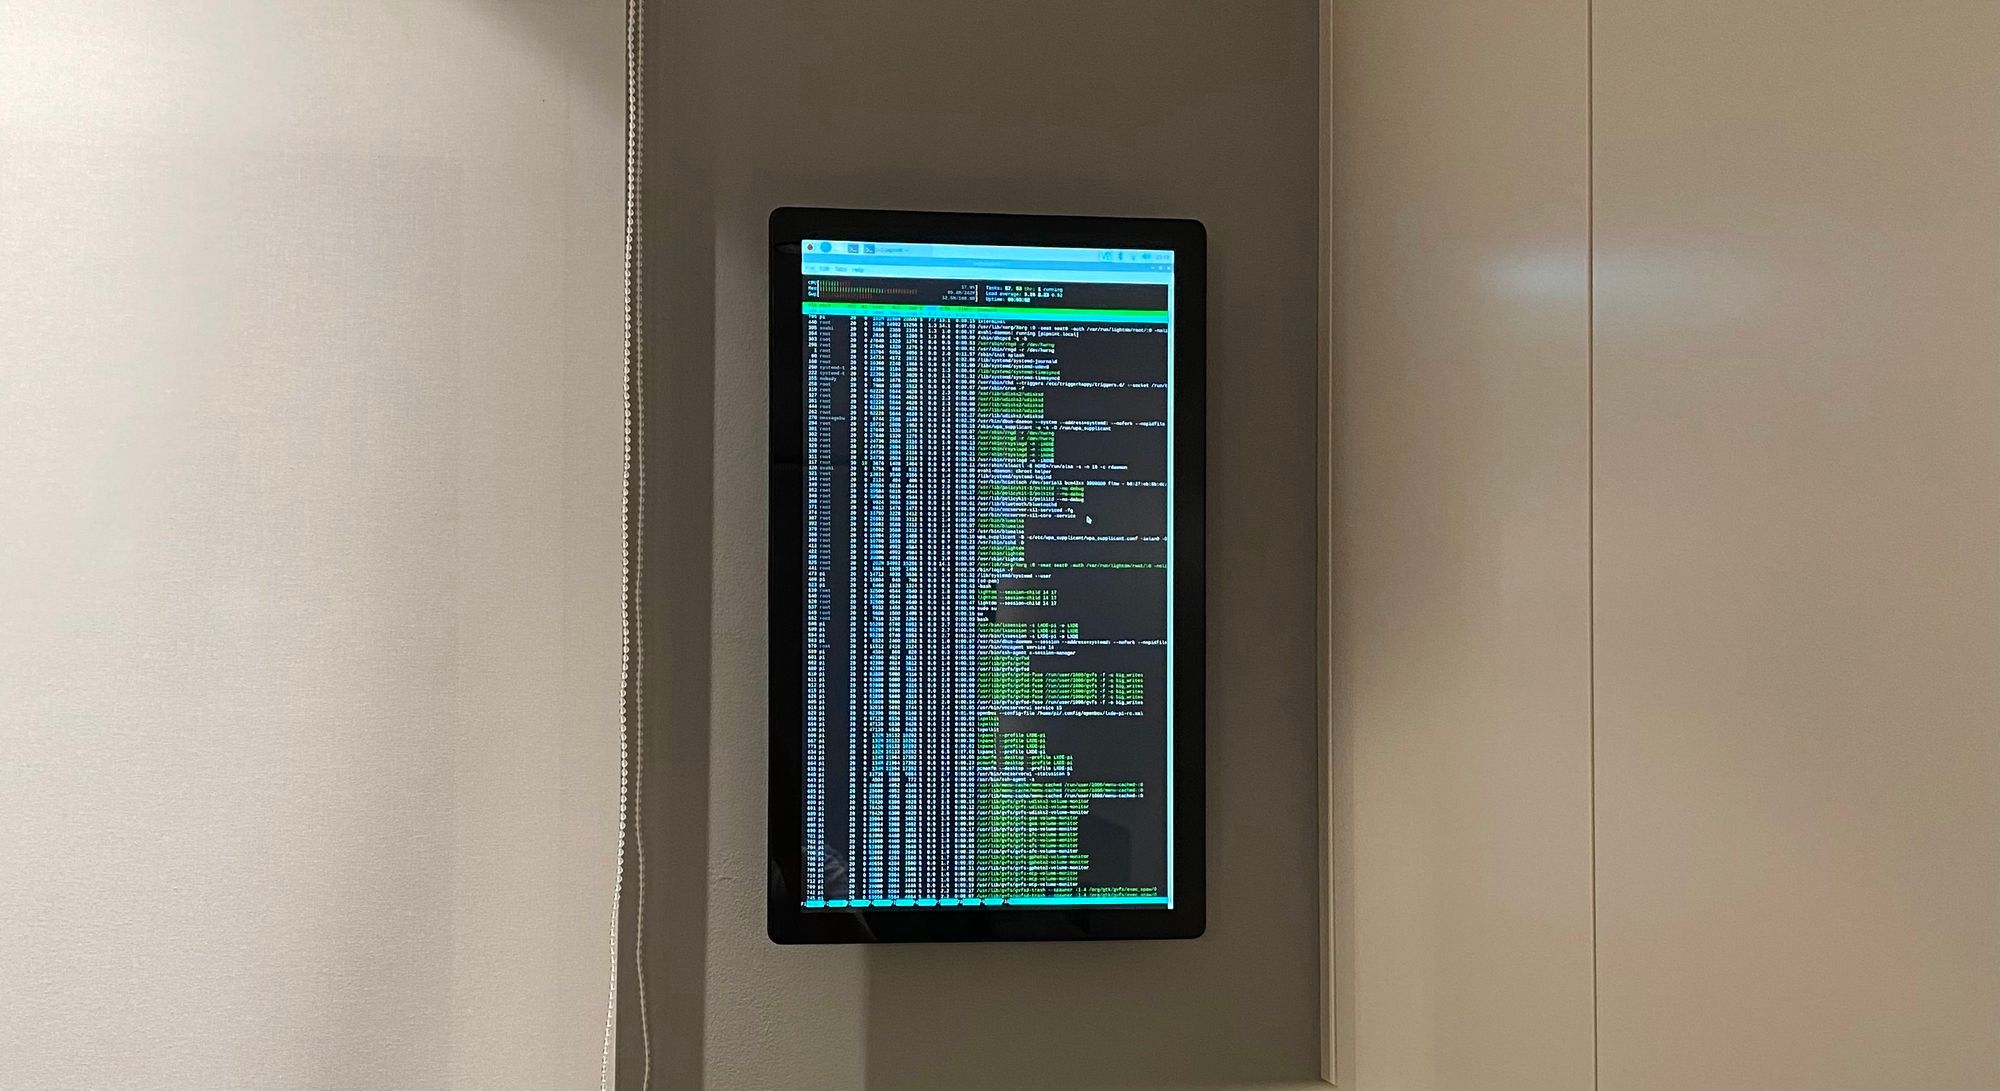
This was not a cheap project, but the majority of the budget was used up by the large touchscreen display. If you don't need such a big display or touch input, then you can make it much cheaper. Initially I tried to use a Pi Zero instead of the 4, but for this purpose it was just not performant enough. I consider this project to be a success, since it covers the ugly hole in the wall with wires sticking out, it looks nice, it doesn't block the cabinet door, and most importantly - it's wife approved. Now I just have to make it useful :)
I'll talk about the software setup in a separate upcoming post, but for now I'm using the default Raspberry Pi OS (a.k.a. Raspbian) with Chromium, and it opens up a fullscreen / kiosk mode browser window on startup. While initially setting up the Pi I paired it with a bluetooth keyboard, so that I can easily interact with it, but it also has SSH and VNC enabled for further software configuration.